Say Goodbye to Hard Water Woes: A Guide to Cleaning Your Ultrasonic Diffuser

Ultrasonic diffusers have become increasingly popular in homes, offices, and wellness spaces for their ability to disperse delightful aromas and create a serene ambiance. However, if you live in an area with hard water, and have been using the water from the tap, you may have noticed an unfortunate side effect: mineral deposits and residue buildup inside your ultrasonic diffuser. Don’t fret! In this blog post, we’ll explore effective methods to clean hard water deposits from your ultrasonic diffuser, ensuring it remains in pristine condition and continues to enhance your environment with soothing fragrances.
Before diving into the cleaning process, it’s important to understand what hard water is and how it can impact your ultrasonic diffuser. Hard water contains a higher concentration of minerals such as calcium and magnesium, which can leave behind limescale and mineral deposits over time. These deposits not only diminish the effectiveness of your diffuser but can also negatively impact its longevity if left unaddressed.
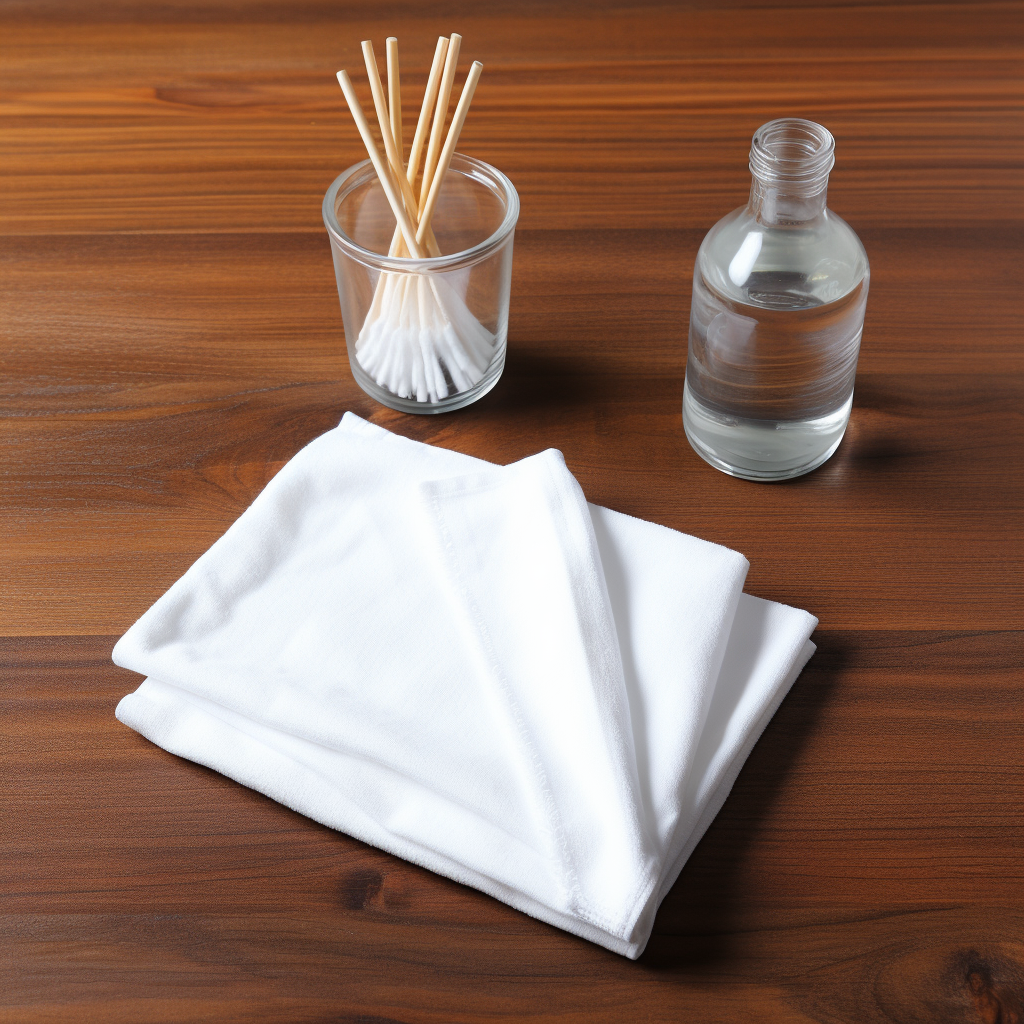
Materials You’ll Need:
- Distilled white vinegar
- Water
- Soft-bristled brush or cotton swabs
- Microfiber cloth or soft towel
Step-by-Step Cleaning Guide: *Please note that as you are cleaning your diffuser, you are not getting water in the air intake valve on the side of the reservoir.
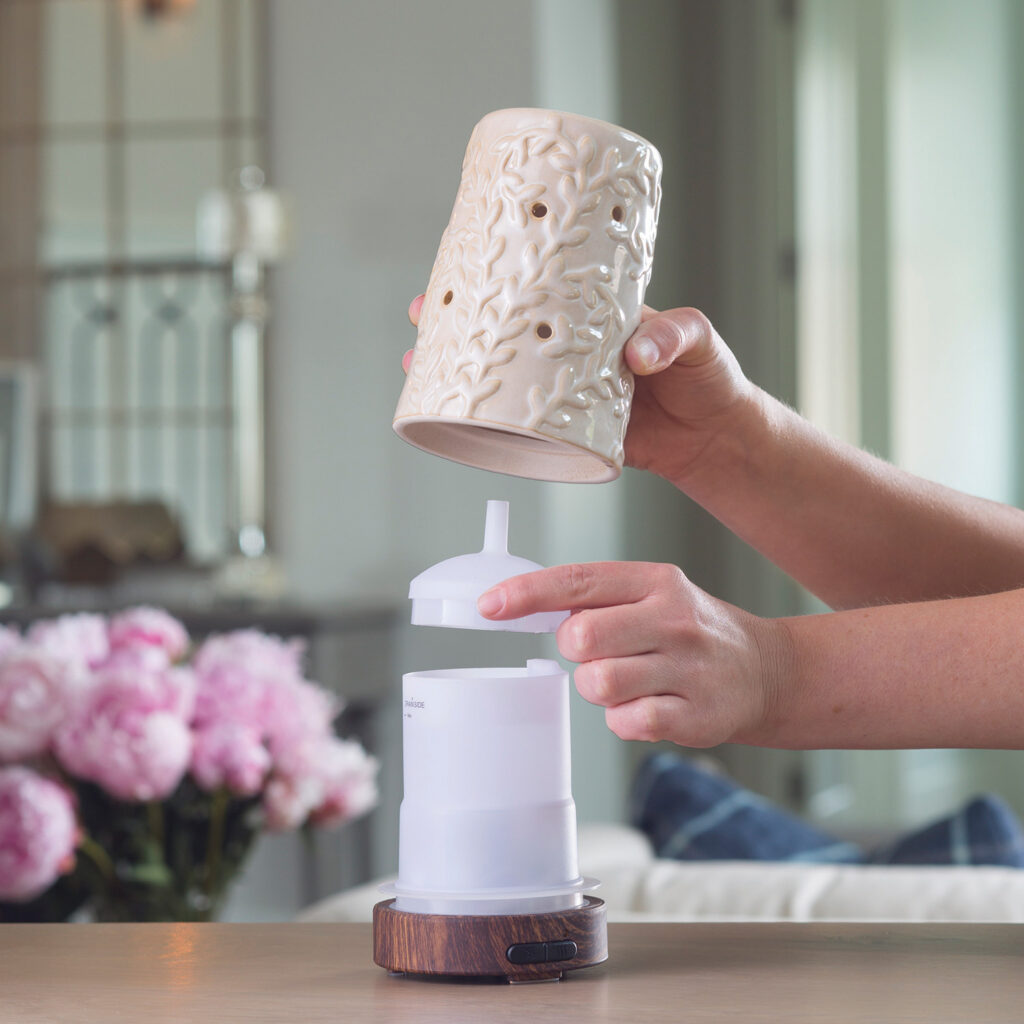
- Unplug and Disassemble: Begin by unplugging your ultrasonic diffuser from the power source and emptying any remaining water from the reservoir.
- Rinse the Reservoir: Rinse the reservoir with clean water to remove any loose debris or residual essential oils.
- Prepare the Vinegar Solution: Fill the reservoir halfway with equal parts distilled white vinegar and water. The acidic nature of vinegar helps dissolve mineral deposits effectively.
- Soak the Diffuser: Soak for approximately 20 to 30 minutes. This step helps break down the hard water deposits clinging to the surfaces.
- Clean the Reservoir: After soaking, gently scrub the reservoir with a soft-bristled brush or a cotton swab to remove any stubborn residue. Be careful not to damage the delicate surface of the metal disc at the bottom of the reservoir.
- Wipe the Reservoir: Empty the vinegar solution from the reservoir and rinse it thoroughly with clean water. Wipe the interior surfaces with a microfiber cloth or a soft towel to remove any remaining residue.
- Reassemble and Test: Once the reservoir is dry and free of vinegar odor, fill the reservoir with distilled water, plug in your diffuser, and run a cycle without adding any essential oils. This step helps eliminate any vinegar residue and confirms that your diffuser is functioning optimally.
- Regular Maintenance: To prevent future mineral buildup, consider using distilled or filtered water in your diffuser, as they have a lower mineral content. Regularly clean your diffuser every two weeks or as needed, depending on the hardness of your water.
Cleaning hard water deposits from your ultrasonic diffuser is an essential maintenance task to ensure its longevity and optimal performance. By following the step-by-step guide outlined in this blog post, you can easily tackle limescale and mineral buildup, keeping your diffuser in pristine condition. Remember, regular cleaning and the use of distilled or filtered water will help you enjoy the benefits of aromatherapy without any unwanted residue. Breathe in the soothing scents and create a serene ambiance in your space with a clean and efficient ultrasonic diffuser.